A compound microscope is virtually recognizable anywhere, with its symbolic curved arm, heavy flat base, and delicate lens-bearing tubes stacked on top. We see it in almost every school or laboratory on earth that needs to deal with tiny things. But how does it work? In this article, we will explain the working principle of microscopes. Read on!
To understand how something works, you will need to know what it is made up of. For that, please first read up on the parts of a microscope . You would also need to have a basic idea about how lenses work, in the first place. Without that understanding, it would be impossible to figure out how a microscope works.
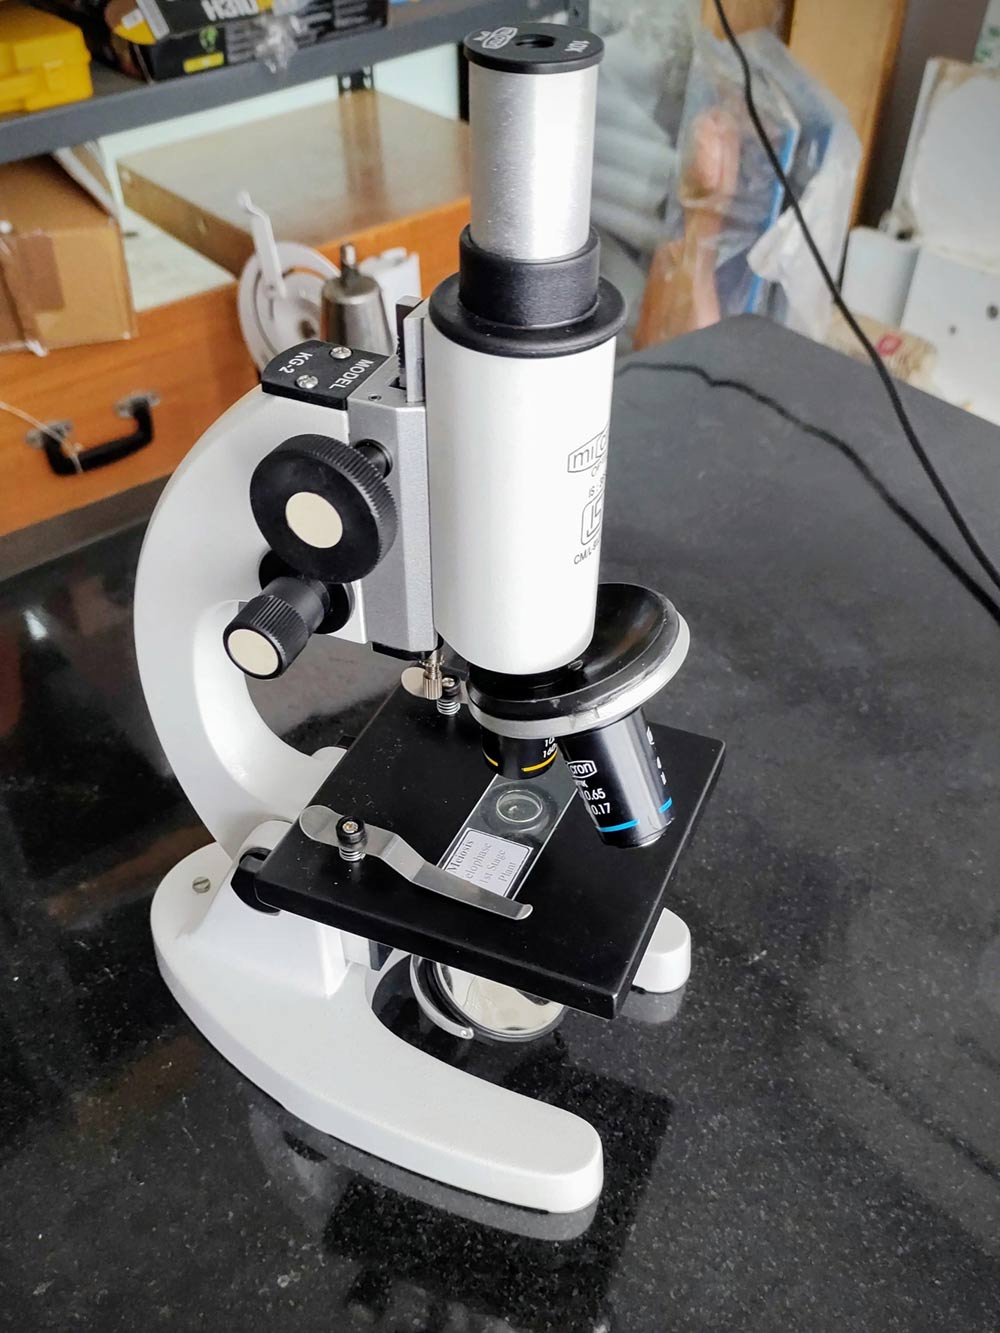
The Idea
Primarily, a microscope ‘magnifies’ the view of something, anything that is on its point of focus. It has two lenses that work together to create an enlarged image of a specimen placed under the ‘objective’ lens. And now you know why it is called that ‒ because it is the one closest to the objective. Conversely, the lens closest to the eye is called the ‘oculus’ (from the ancient Greek word for eye).

You can actually do this at home using two hand-held lenses. Hold one lens close to a small thing, like a letter on paper. Now hold another hand-lens some distance above it so that you can see through both lenses at once to the letter. Move your hands up or down to adjust, and suddenly at one point, you’ll see the letter shockingly bigger!
The Principle
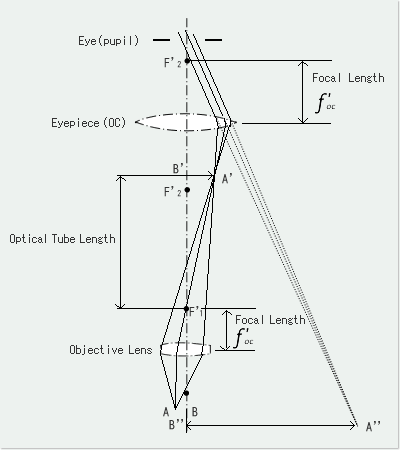
A microscope enlarges the view of an object by enlarging it twice using the objective and oculus lenses. It happens in the following way:
- Light from below a specimen illuminates it.
- An objective lens placed very close to the specimen produces a ‘real image’ of the specimen.
- This image is created somewhere between the two lenses.
- The oculus lens looks at that real image, already magnified, and creates a ‘virtual image’ of it that is many times magnified.
- This image is created far away, behind the actual objective.
- This final image is inverted to the original object, remember that.
- The light passes through the specimen and the two lenses to reach your eye. In the process, the loss of light can be negligible.
Since the light comes through the image, this type of microscope is called a bright-field microscope. Indeed, the final image is sometimes so bright that there is a dedicated control to reduce the amount of light that pours into the specimen.
The Math
The only math that matters here is how much your final image is magnified than the original object. This is called the final magnification and it is denoted by X. It means how many times it is enlarged. For example, a 100x magnification means that the final image of the specimen will be a hundred times bigger than the specimen.
There is a simple formula to find out the final magnification of a compound microscope. It is:

Since the magnifications of those lenses are given in power, you can say that the total magnification will be the product of the powers of objective and oculus lenses.
If, however, someone asks you the relation between the focal lenses of these lenses and the final magnification, things get a little bit complicated. The formula for that depends upon not only the focal lengths of the lenses, but also the distances they are placed in the body tube. The formula is:

Wrapping Up
So, now you know how a microscope works and the working principle of a microscope, you are almost ready to use one. But before that, you have to learn how to set up a microscope , because that is the start of a practical session ‒ theory won’t cut it here!
Get a free lab consultation by the experts’s team from Labkafe.












Leave a Reply