Last week we discussed the Salt Analysis experiment in chemistry lab class 12 practicals. While talking about performing various tests on the original solution or water extract of the salts, we realized that not everybody can be savvy about how to make the original solutions of salts, or, as they are also called, stock solutions. Hence, we get down to making water extracts of salts for school chem lab experiments.
You’re in luck with the salt ion identification reaction experiment because you have the best solute and solvents on hand. Water is a universal solvent and salts are very soluble in water ‒ both for good reason. And so you shouldn’t have any trouble dissolving salts in water. However, as you well know, there are orders and methods to anything and everything; and so we will give you the correct instructions on how to prepare the original solution at the beginning of the salt analysis experiment below.
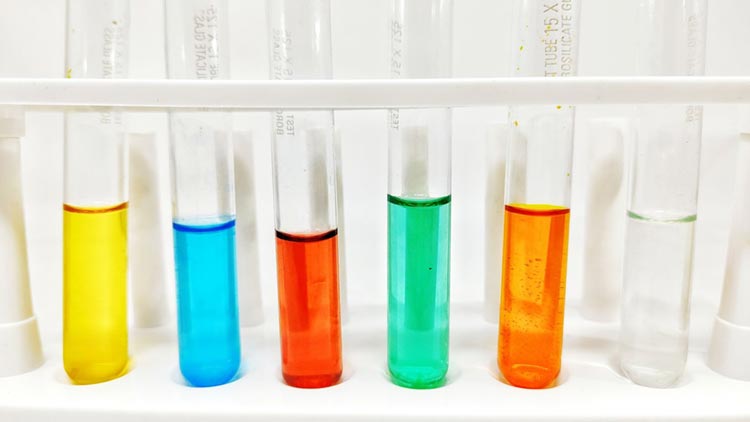
What is a Solution, Anyway?
Students often wonder about this in their studies of chemistry. Let’s talk about what exactly is a solution in the matter of chemistry labs, before we start talking about making them.
Put very simply, a solution is a mixture of a few things done completely evenly. Meaning, the solute (the thing in the smaller amount) should spread completely evenly throughout the solvent (the thing in the bigger amount) in the mixture. This is called a “homogeneous” state of the mix, which is a pretty stable state ‒ thing 1 and thing 2 won’t get separated unless you take some great pains.
To clarify, just mixing something and trying to make it even does not make it a solution. For example, we can take muddy water ‒ looks pretty even, doesn’t it? But just keep it still for a long time and you’ll see the mud precipitate down and the water becoming clear. But dilute some sugar in water and it will stay sweet forever.
If you want to be totally technical about it, we can say that in an actual solution, the solute (like salt) and the solvent (like water) mix so evenly and closely together that the molecules of the solute get in between the molecules of the solvent. If the solute and solvent keep together in their own groups, then no matter how evenly they mix ‒ it’s still not a proper solution. It would be what we call a colloid.
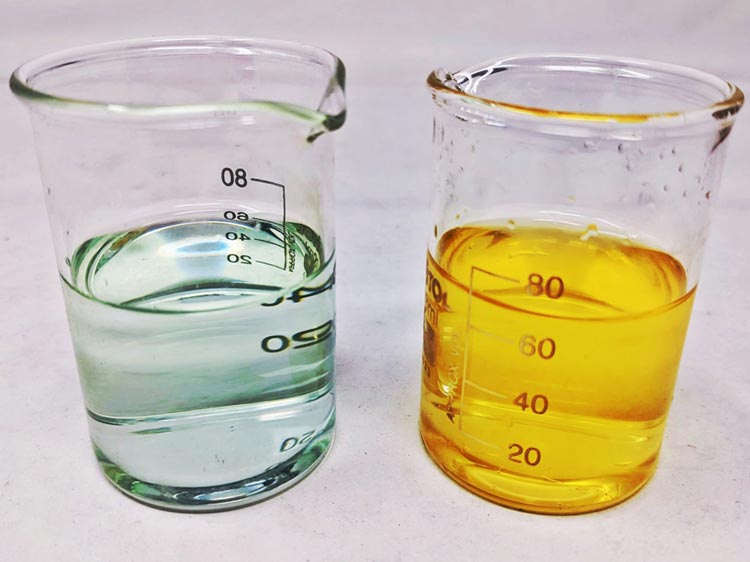
We will get into more details about solutions, solvents, and solutes in other articles.
How to Prepare an Original Solution (OS)
Ingredients and equipment required:
- Given salt, dry, in a good amount
- Distilled water, about 100 ml
- Hydrochloric Acid, dilute and concentrated
- A few Test tubes
- Beaker (small) with pouring lip
- Bunsen burner (or spirit lamp works too)
- Support apparatus (tongs, test tube clamps, tripod, wire gauge, etc.)
Objective: To prepare a clear and transparent solution of the salt under investigation. This is called an Original Solution (OS) or Initial Solution, Water Extract, or Salt Solution.
First Phase: Try with Water
At first, chances are that you don’t know what salt you have. Unless you have some visibly identifiable salts in your hand (like Copper Sulphate), you are somewhat in the dark. So, at first, we will not try to dilute the whole of the salt at once but try with just a little bit of it.
- Take just a small pinch of the given salt and put it in a clean, fresh test tube.
- Drown it in about an inch of distilled water in the tube.
- Put a cork or stopper on the test tube to close the mouth well.
- Shake the tube strongly. Try both side-to-side and up-down movements.
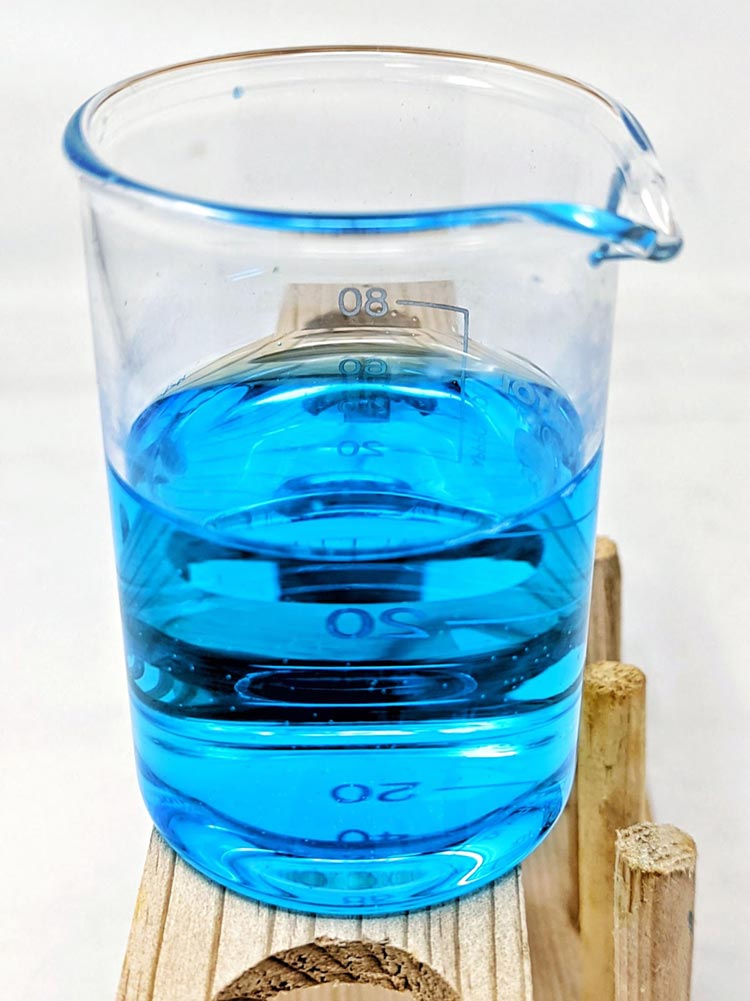
Observe the liquid in the test tube now by holding it at eye level. Is the stuff clear and transparent, or is it murky or opaque? Meaning, can you see things through the liquid in the tube? If yes, then you have a solution of the given salt in class 10/12 practical lab. If the solution is not clear, or the salt remains alone in the test tube, then you have to try something else.
- Light the spirit lamp or the bunsen burner.
- Remove the cork or stopper and heat the liquid in the test tube gently.
- Is the liquid getting clearer? If not, try shaking it sidewise gently (be careful it doesn’t spill out).
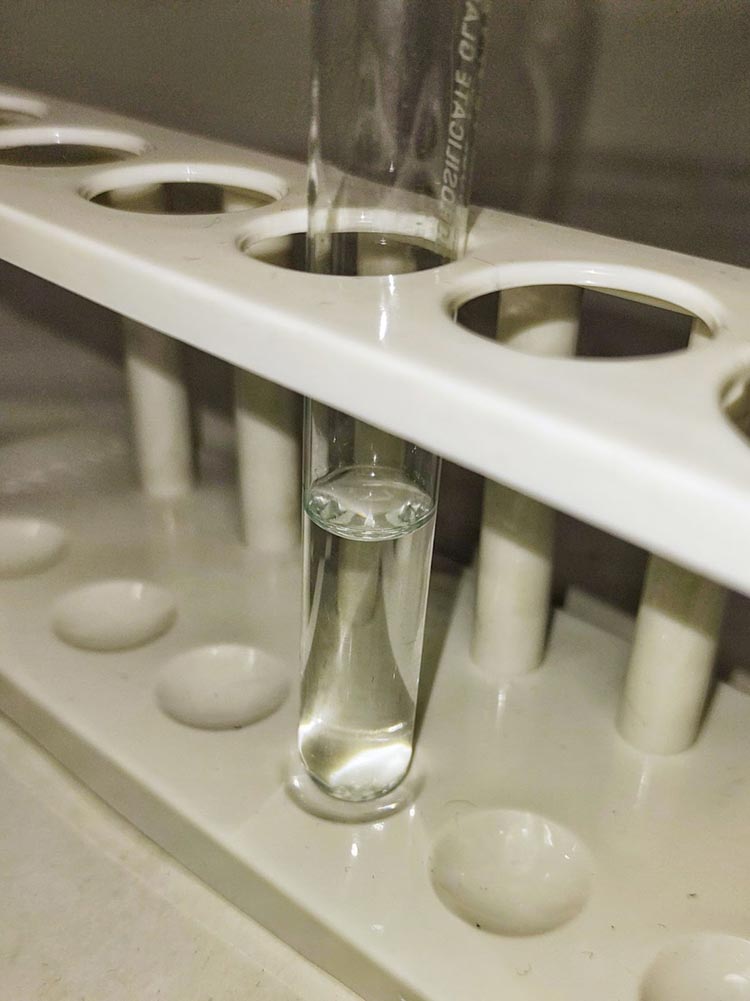
If the liquid gets clear soon, you have a small amount of the original solution. But if it remains murky even till the water starts bubbling, then your salt is not soluble in water naturally and you will have to trick the water into being more, let’s say, persuasive.
Second Phase: Try with HCl
Water, by itself, is a very good solvent. Most salts tend to get dissolved in water. But you know what dissolves things better than water? Acid. So, if you’ve got a particularly nasty salt unwilling to dissolve in simple water, you have to spike the water with hydrochloric acid.
- Take the test tube from the previous step and let it cool. Or, discard the liquid and start fresh with another pinch of salt and distilled water.
- When cool, put one drop of diluted HCl in the test tube.
- Close it up with a cork or stopper and shake well like before.
Does the salt get dissolved now? If yes, you’ll see a clear, transparent solution, that is OS quality. If it’s still murky, heat the tube like the previous step. Be very careful here since hot acid is not fun at all. Almost all school laboratory salts will get dissolved in this step.
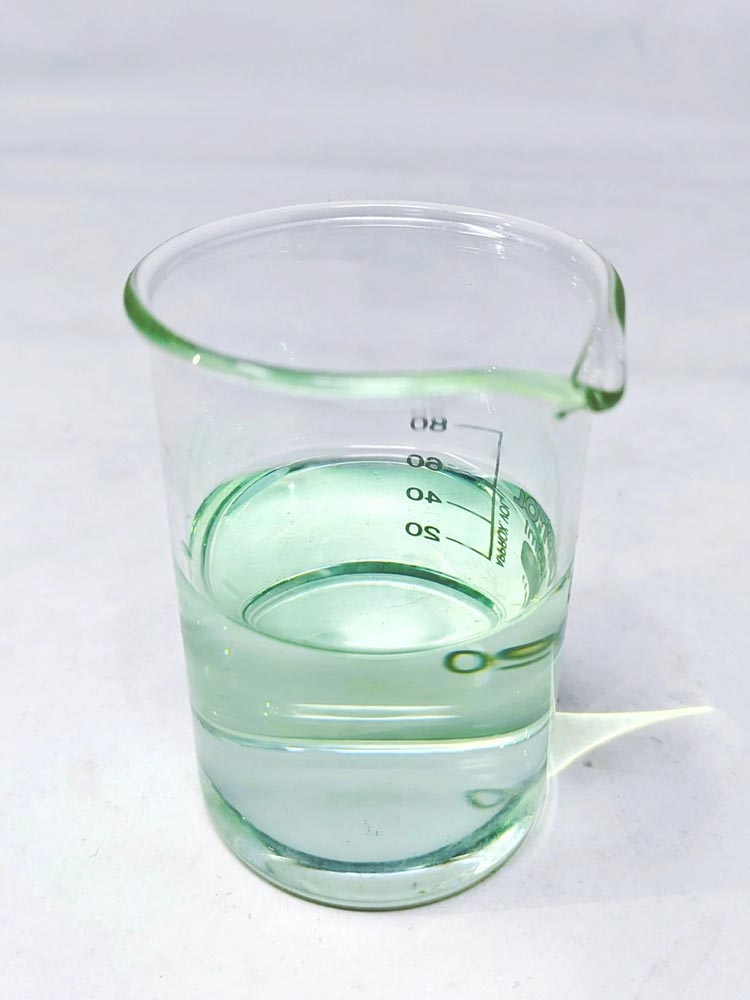
If, for some reason, the solution still remains murky, add a drop of concentrated HCl in the tube (after cooling off) and repeat the previous steps. It is sure to form a clear, transparent solution now. If not, contact your lab instructor, teacher, or lab assistant ‒ you may have been given a wrong chemical.
Note: You can get an idea about the salt’s solubility from this process. When you have to write about the salt’s character, remember this process:
- If you had managed to get the solution with cool water only, the salt is “water soluble”.
- If you had to heat the water to get the solution, then the salt is “partially soluble in water”.
- If you had to add acid to the water to get the solution, then the salt is “insoluble in water”.
- If you didn’t get a solution even after all the process, then the salt is probably organic.
Third Phase: Prepare the Original Salt Solution
Assuming you had managed to dilute the given salt using the process above (without accidents), then you know how to dilute the salt. Now you are going to do it in volume so you have a decent amount of the Original Solution in hand to use in various identification tests.
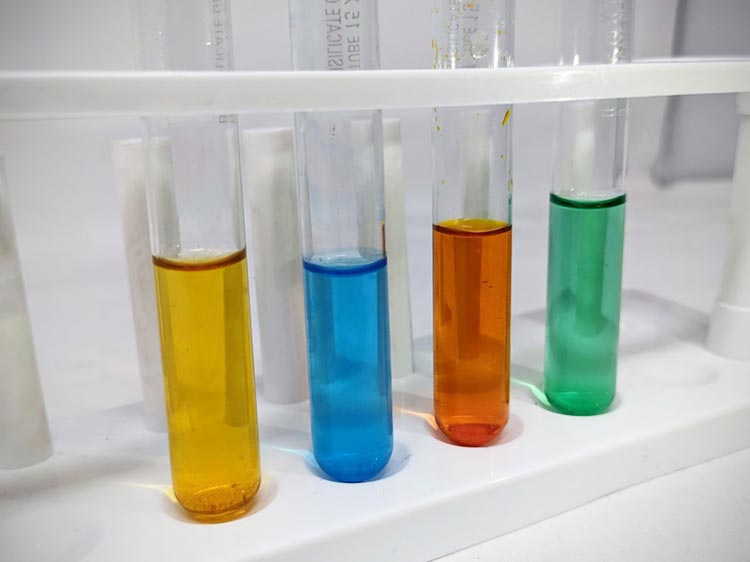
Take a 10ml beaker (with pouring lip), and about 3-4 grams of the given salt. Make sure you have some dry salt put aside to do the dry experiments like the flame test, charcoal block test, and other dry tests.
- If you had had a solution in cool liquid, just mix them together in the beaker (add the HCl if required), stirring with a glass rod.
- If you had to heat the test tube to get a solution, set up the burner or lamp and the apparatus to heat the beaker (tripod, wire net, etc.). Then heat it up, stirring with the rod until you get a clear solution. Add the acid if required in the previous steps.
Note: an Original Solution or Initial Solution of the given salt will have a similar color (maybe less intense) as the given salt. If the salt was white, the solution should look like clear water.
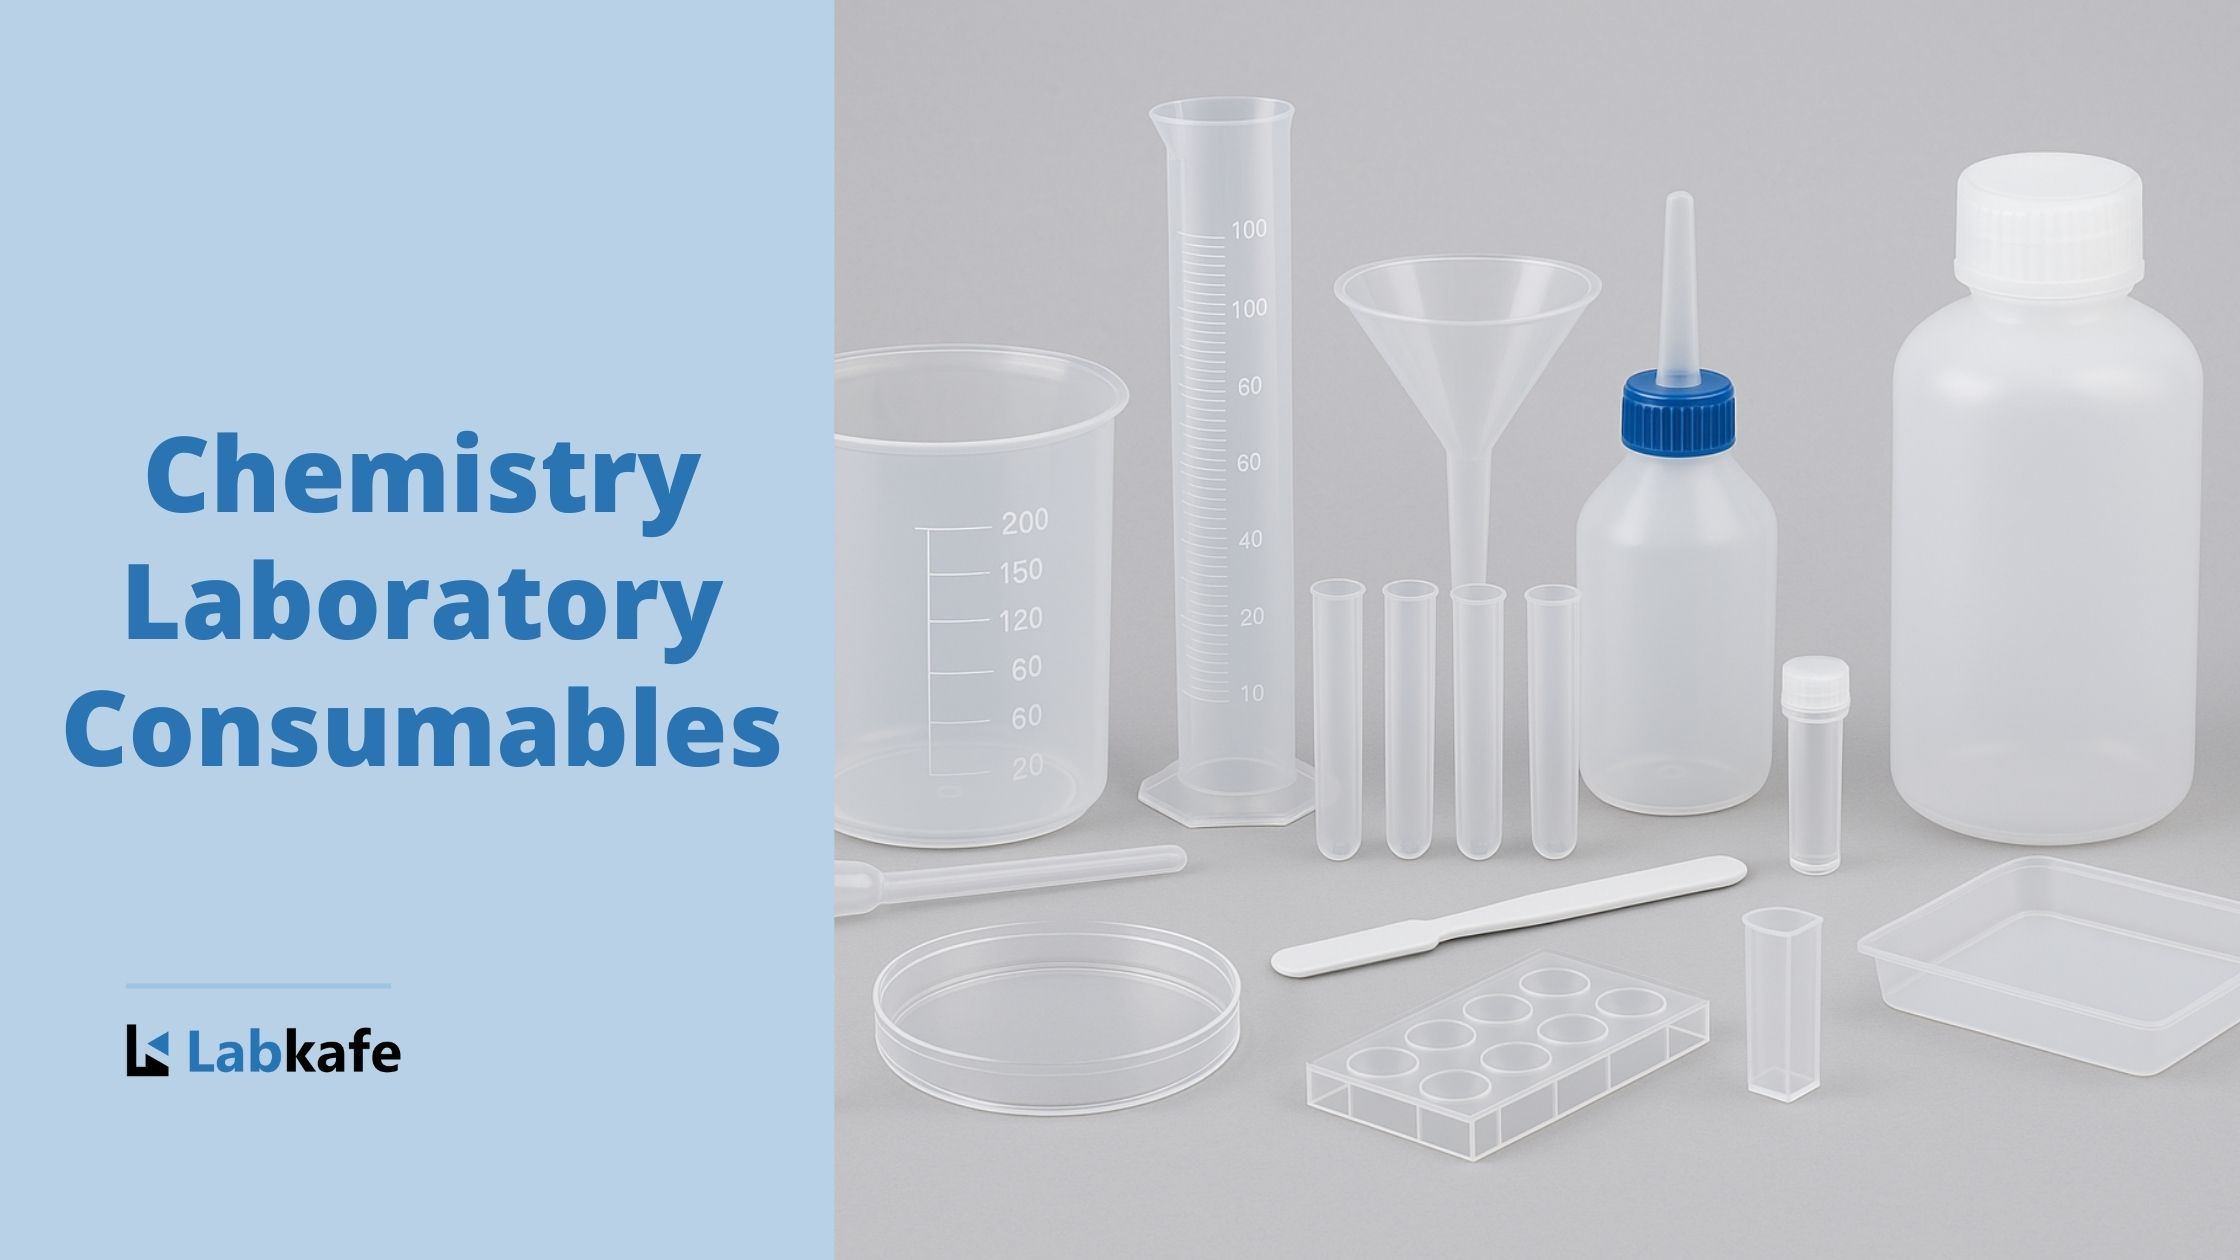
Congratulations, now you have the original salt solution (or water extract) and you can move forward to the next step in the salt analysis process. Labkafe sells all kinds of chemical salts, bases, acids, and reagents as part of lab consumables for your chemistry and bioscience experiments. They are available as per-board lab packages or individually. You can order lab consumables online from us, or get a quote for the full or partial packages.






Leave a Reply