Building a school is a noble task, but difficult and complicated. Building the laboratories for the school, doubly so. Normally with a classroom, you don’t have to bother much ‒ but a lab is so much more than a classroom. So, today we shall discuss CBSE HS Lab design ‒ you know, how to set up the higher secondary labs.
Naturally, the scale of the school determines the size and number of its classrooms and other facilities. For our discussion, we will assume the bare minimum that has to be done to get a CBSE affiliation.
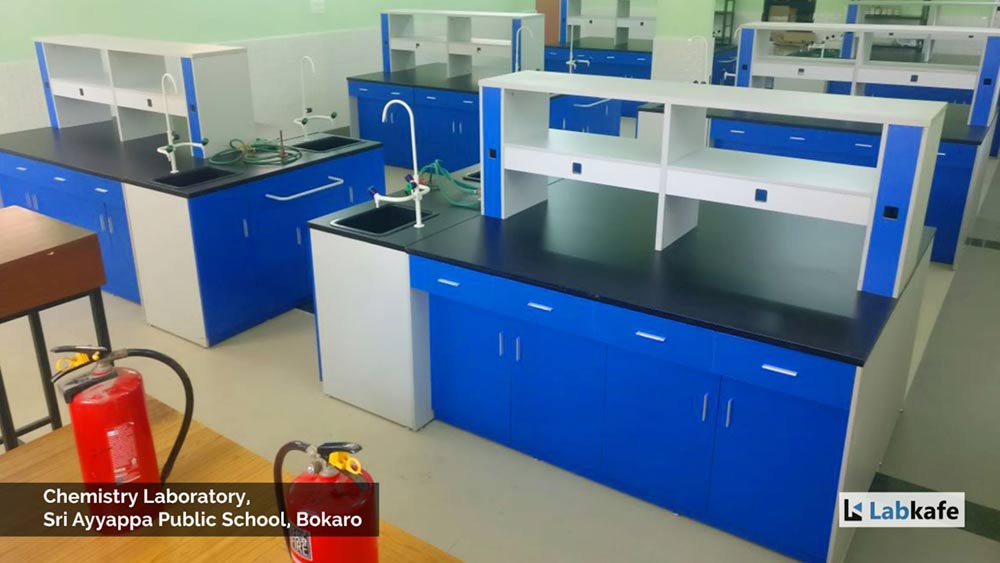
Size Matters
To build a CBSE school, obviously, you will have to attain the CBSE affiliation. For that, you will have to abide by the bye-laws of the CBSE affiliation. For other parts of the school, that’s good enough but for laboratories, that’s only the beginning.
To begin with, the bye-laws state the dimensions and the size of the room precisely. They are as follows:
- Room minimum dimension: 9 meters by 6 meters (30 feet by 20 feet approx.)
- Room minimum area: 54 square meters or 600 square feet
- Room should accommodate: 30 students excluding instructor/assistant
This is the lowest denomination. You can make your CBSE HS Lab design as big as you want. But do keep in mind what’s common sense ‒ if you make any teaching room too big, would it be possible to teach effectively? We generally don’t recommend a crowd bigger than 40, excluding one lab instructor and one assistant.
Extra Stuff
One more thing. The sizes mentioned above are only for the base area required for 30 students to work at a time. But think practically ‒ is that all that a lab needs space for?
- What about the teacher’s and lab assistant’s workspace?
- What about space for keeping the lab equipment?
- How about providing some area for the students to drop their bags?
- Maybe some sitting area?
- Maybe an office cubicle?

A good laboratory should and would have all of the above. Not only that, while designing a lab you will have to consider foot traffic as well. The room should have multiple doors for entry and exit, in case there is an emergency. There should be ample space around the lab furniture for people to move around comfortably without bumping into those who are busy at the workbenches. Do consider the circumstances of a fire or acid spill.
Location Choice
The CBSE guidebook won’t tell you this but common sense would ‒ where do you think you should place your laboratory in the building? Generally, laboratories are placed towards the backside of the schools instead of the front side ‒ because of all the vents, exhaust fans, and the smells from them. Also, the room should be near a large staircase and toilets.
What about the vertical location of a CBSE HS school lab? As a rule of thumb, Labkafe experts will tell you about two locations ‒ either go low or go high. Never go in the middle. Let me explain.
Ground Floor Location
- Pros:
- Great for emergency evacuation, if the lab is near open ground access
- Good protection from earthquakes ‒ not much shaking
- LPG access ‒ you can construct a gas storage outbuilding right beside the lab
- Short drainage line length
- Cons:
- Foot traffic and activity is heaviest on the ground floor
- Not very airy, can get unhealthy, especially in the bio/chem labs
- Fume/exhaust vents have to be constructed up to the roof if the locality is crowded
Top Floor Location
- Pros:
- Place vents and exhausts easily
- Airy atmosphere
- Small length of water inlet line
- Most secluded floor with the least traffic
- Fires and other similar hazards can spread less
- Cons:
- Not easy to escape in case of emergencies
- Sensitive to ground vibrations
- Long sewage and gas lines
As you can see, there are both advantages and disadvantages of placing a lab on the top floor or the ground floor. Ultimately, the design of the school will dictate the final location and you will have to accommodate the negative issues.
Airing & Ventilation
Windows are important in a lab because they provide the most airflow in and out of the room, which helps to mitigate all the nasty fumes and smells a lab commonly generates. But do be careful about where to place them and how much.
Most lab workbench setups come at 3 feet height. Therefore, your lab room windows should not have a plinth height of less than 3 feet. Any less and you have effectively created a debris and dust accumulation space. Also, this would weather out the lab benches more quickly.

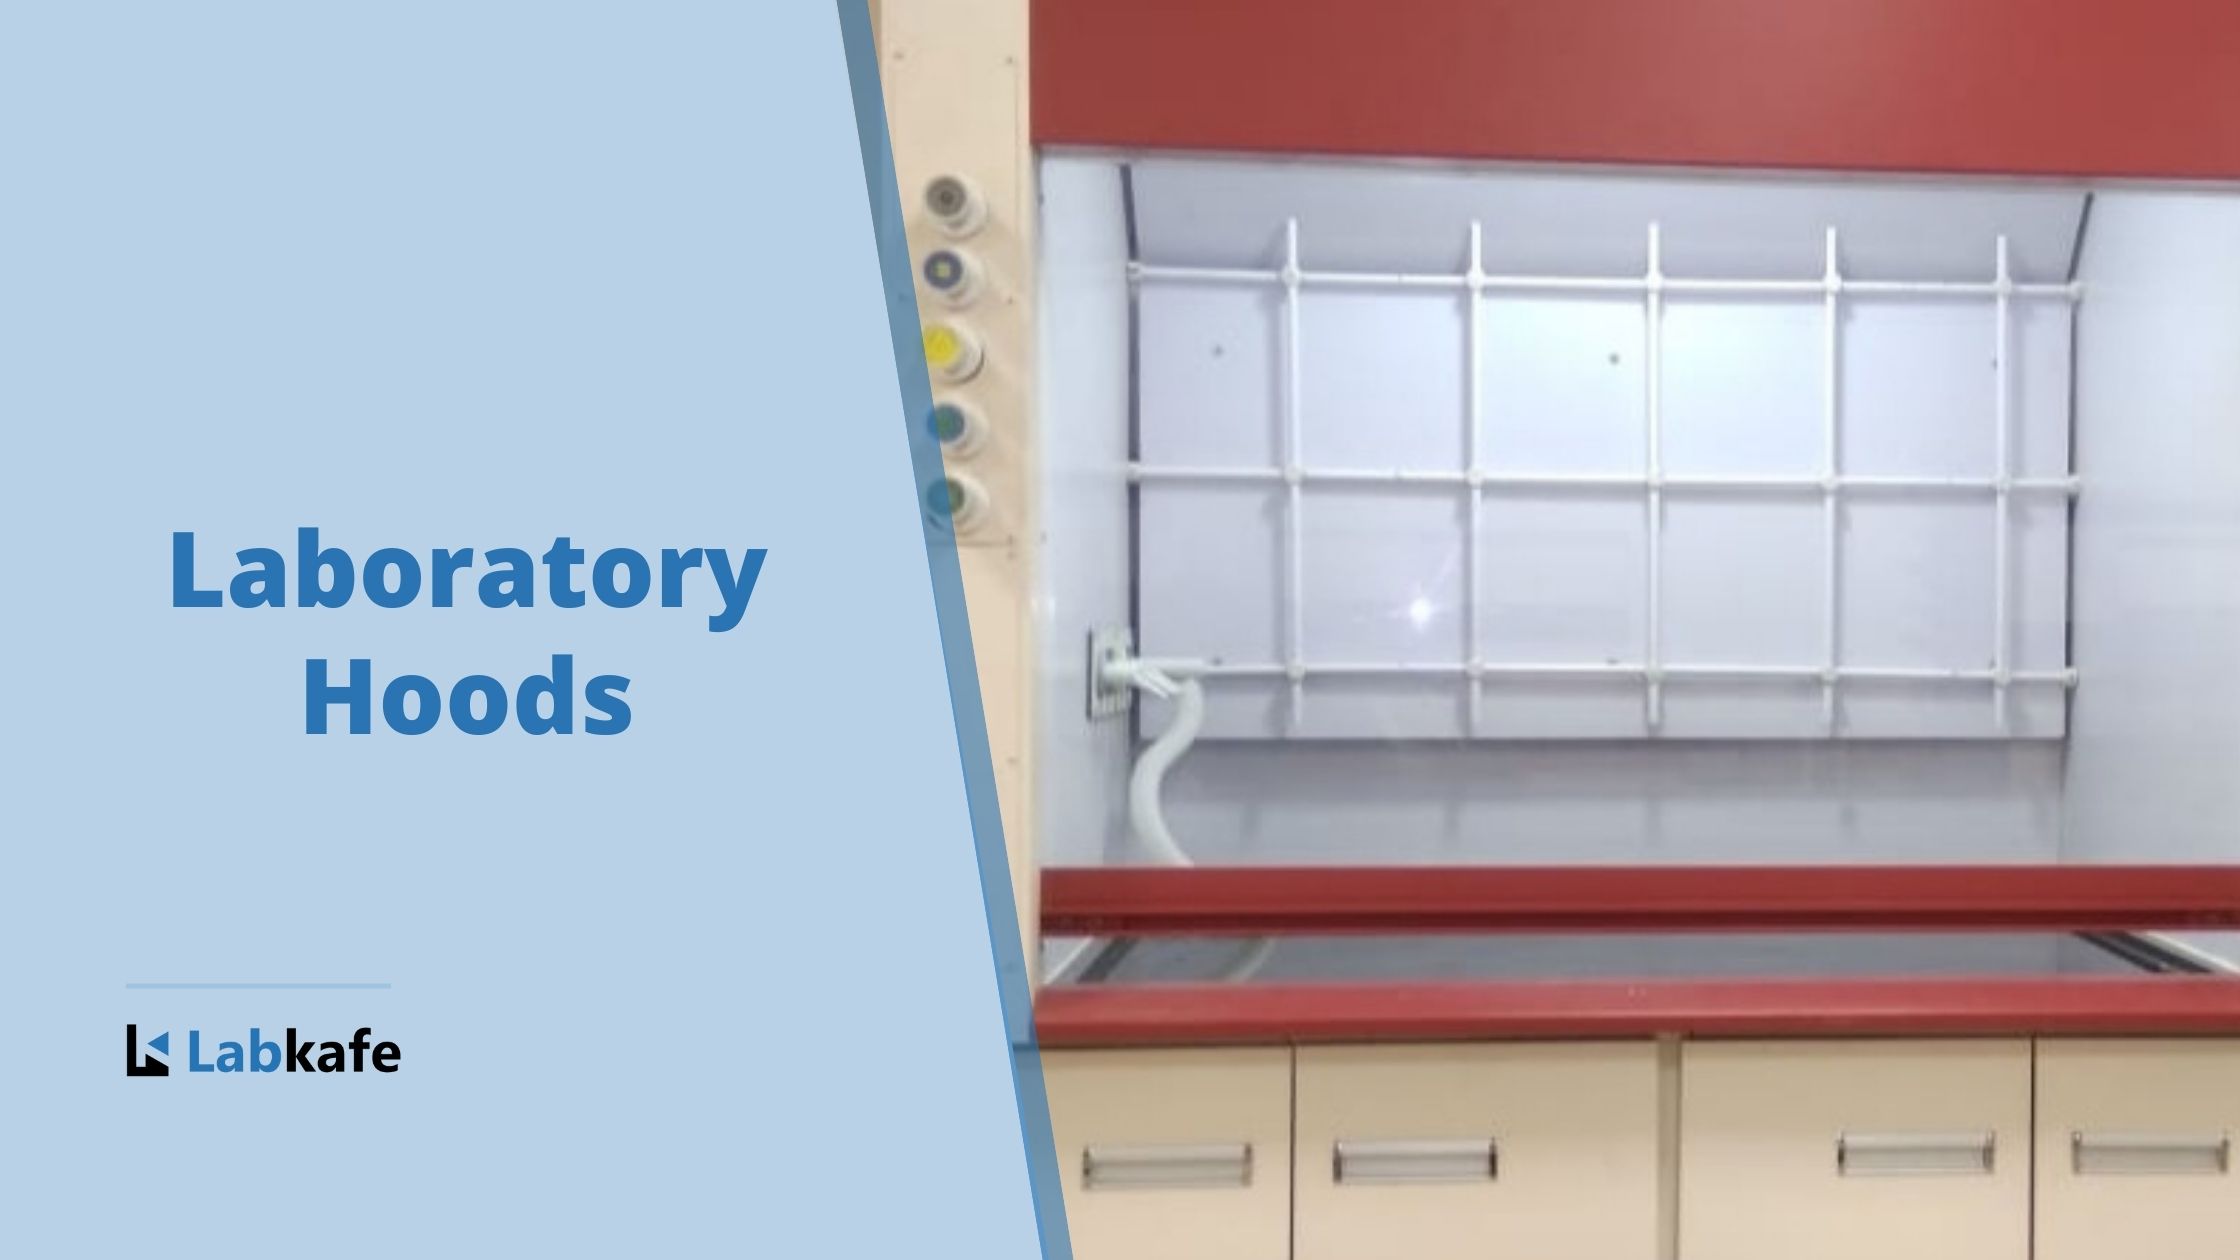
We recommend that most chemistry labs have at least a small fume hood for experiments that emit particularly foul-smelling and/or dangerous gases. For this, you have to have at least one dedicated vent that connects to the fume hood and exhausts the gases safely into the atmosphere.
Now that we know all about the room, we can move forward to more complex matters.
Utilities
In a CBSE school, there are six types of lab rooms in general:
- Composite lab
- Physics Lab
- Chemistry Lab
- Biology Lab
- Computer Lab
- Maths Lab
We have already covered the composite lab setup in another article, and we’re not including the computer and maths lab in this article ‒ they will be discussed separately. What’s left are the physics, chemistry, and biology labs ‒ the PCB, the holy trinity of school labs! In what way do they differ from a standard school classroom?
The answer is utility lines. A normal classroom has only an electricity line and possibly a drainage outlet in it ‒ a lab room has far more. A chemistry lab is the most difficult in this sense ‒ it will have not only an electricity line but also an LPG line, water inlet, and drainage outlet. The biology lab will also be similar, with the gas line optional. If you want to be extra secure, a chemistry lab should also have an emergency shower corner.
LPG Infrastructure
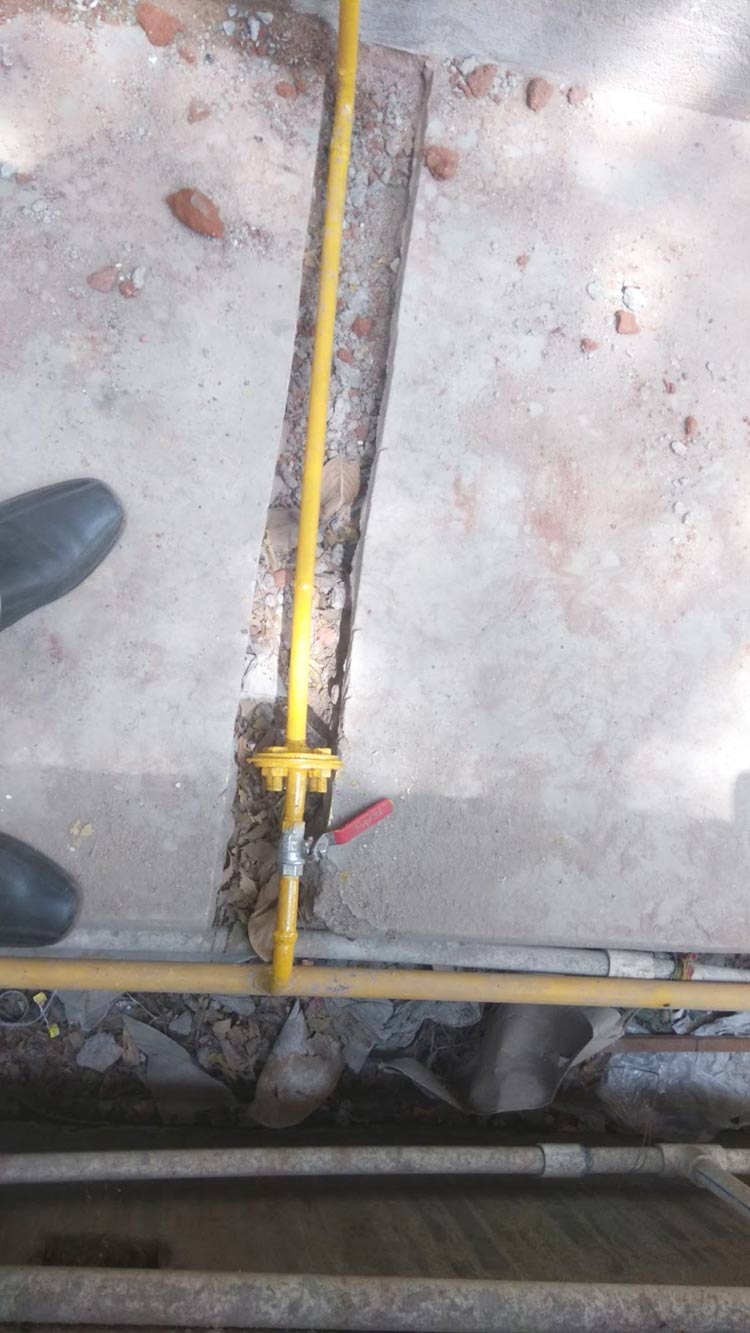
There is something special about the gas line in labs. You see, unlike other utility lines, it comes in through the roof of the room. While that is easy to maneuver around the room by the walls (much like electricity lines), things get interesting when you have to supply a standalone work table in the middle space of the room.

In that situation, a good way to solve this problem is to establish a simple metal framework from wall to wall supporting the gas line and electricity line. Labkafe engineers generally do it, about 8 feet in the air, so that it doesn’t cause problems with people working in the lab and is safely away from any heat source.
Water & Drainage
While they come through the floor, water inlets and waste outlets in a lab face the same issue, only at the floor level. The water pipe is about an inch thick and the waste pipe is about three inches ‒ together they make an awesome stumbling hazard in a lab, which is already a dangerous area, to begin with.
For this reason, when starting to build the room one of your prime concerns should be to pass up these lines from the ground below near the center of the room, as well as provide them in a corner. If, for some reason that is not possible, Labkafe engineers should pass the water and waste lines through a low-traffic area of the room (possibly at the back). Also, you should cover this up with some sloping woodwork so people don’t stumble on them and fall.
Furniture Placement
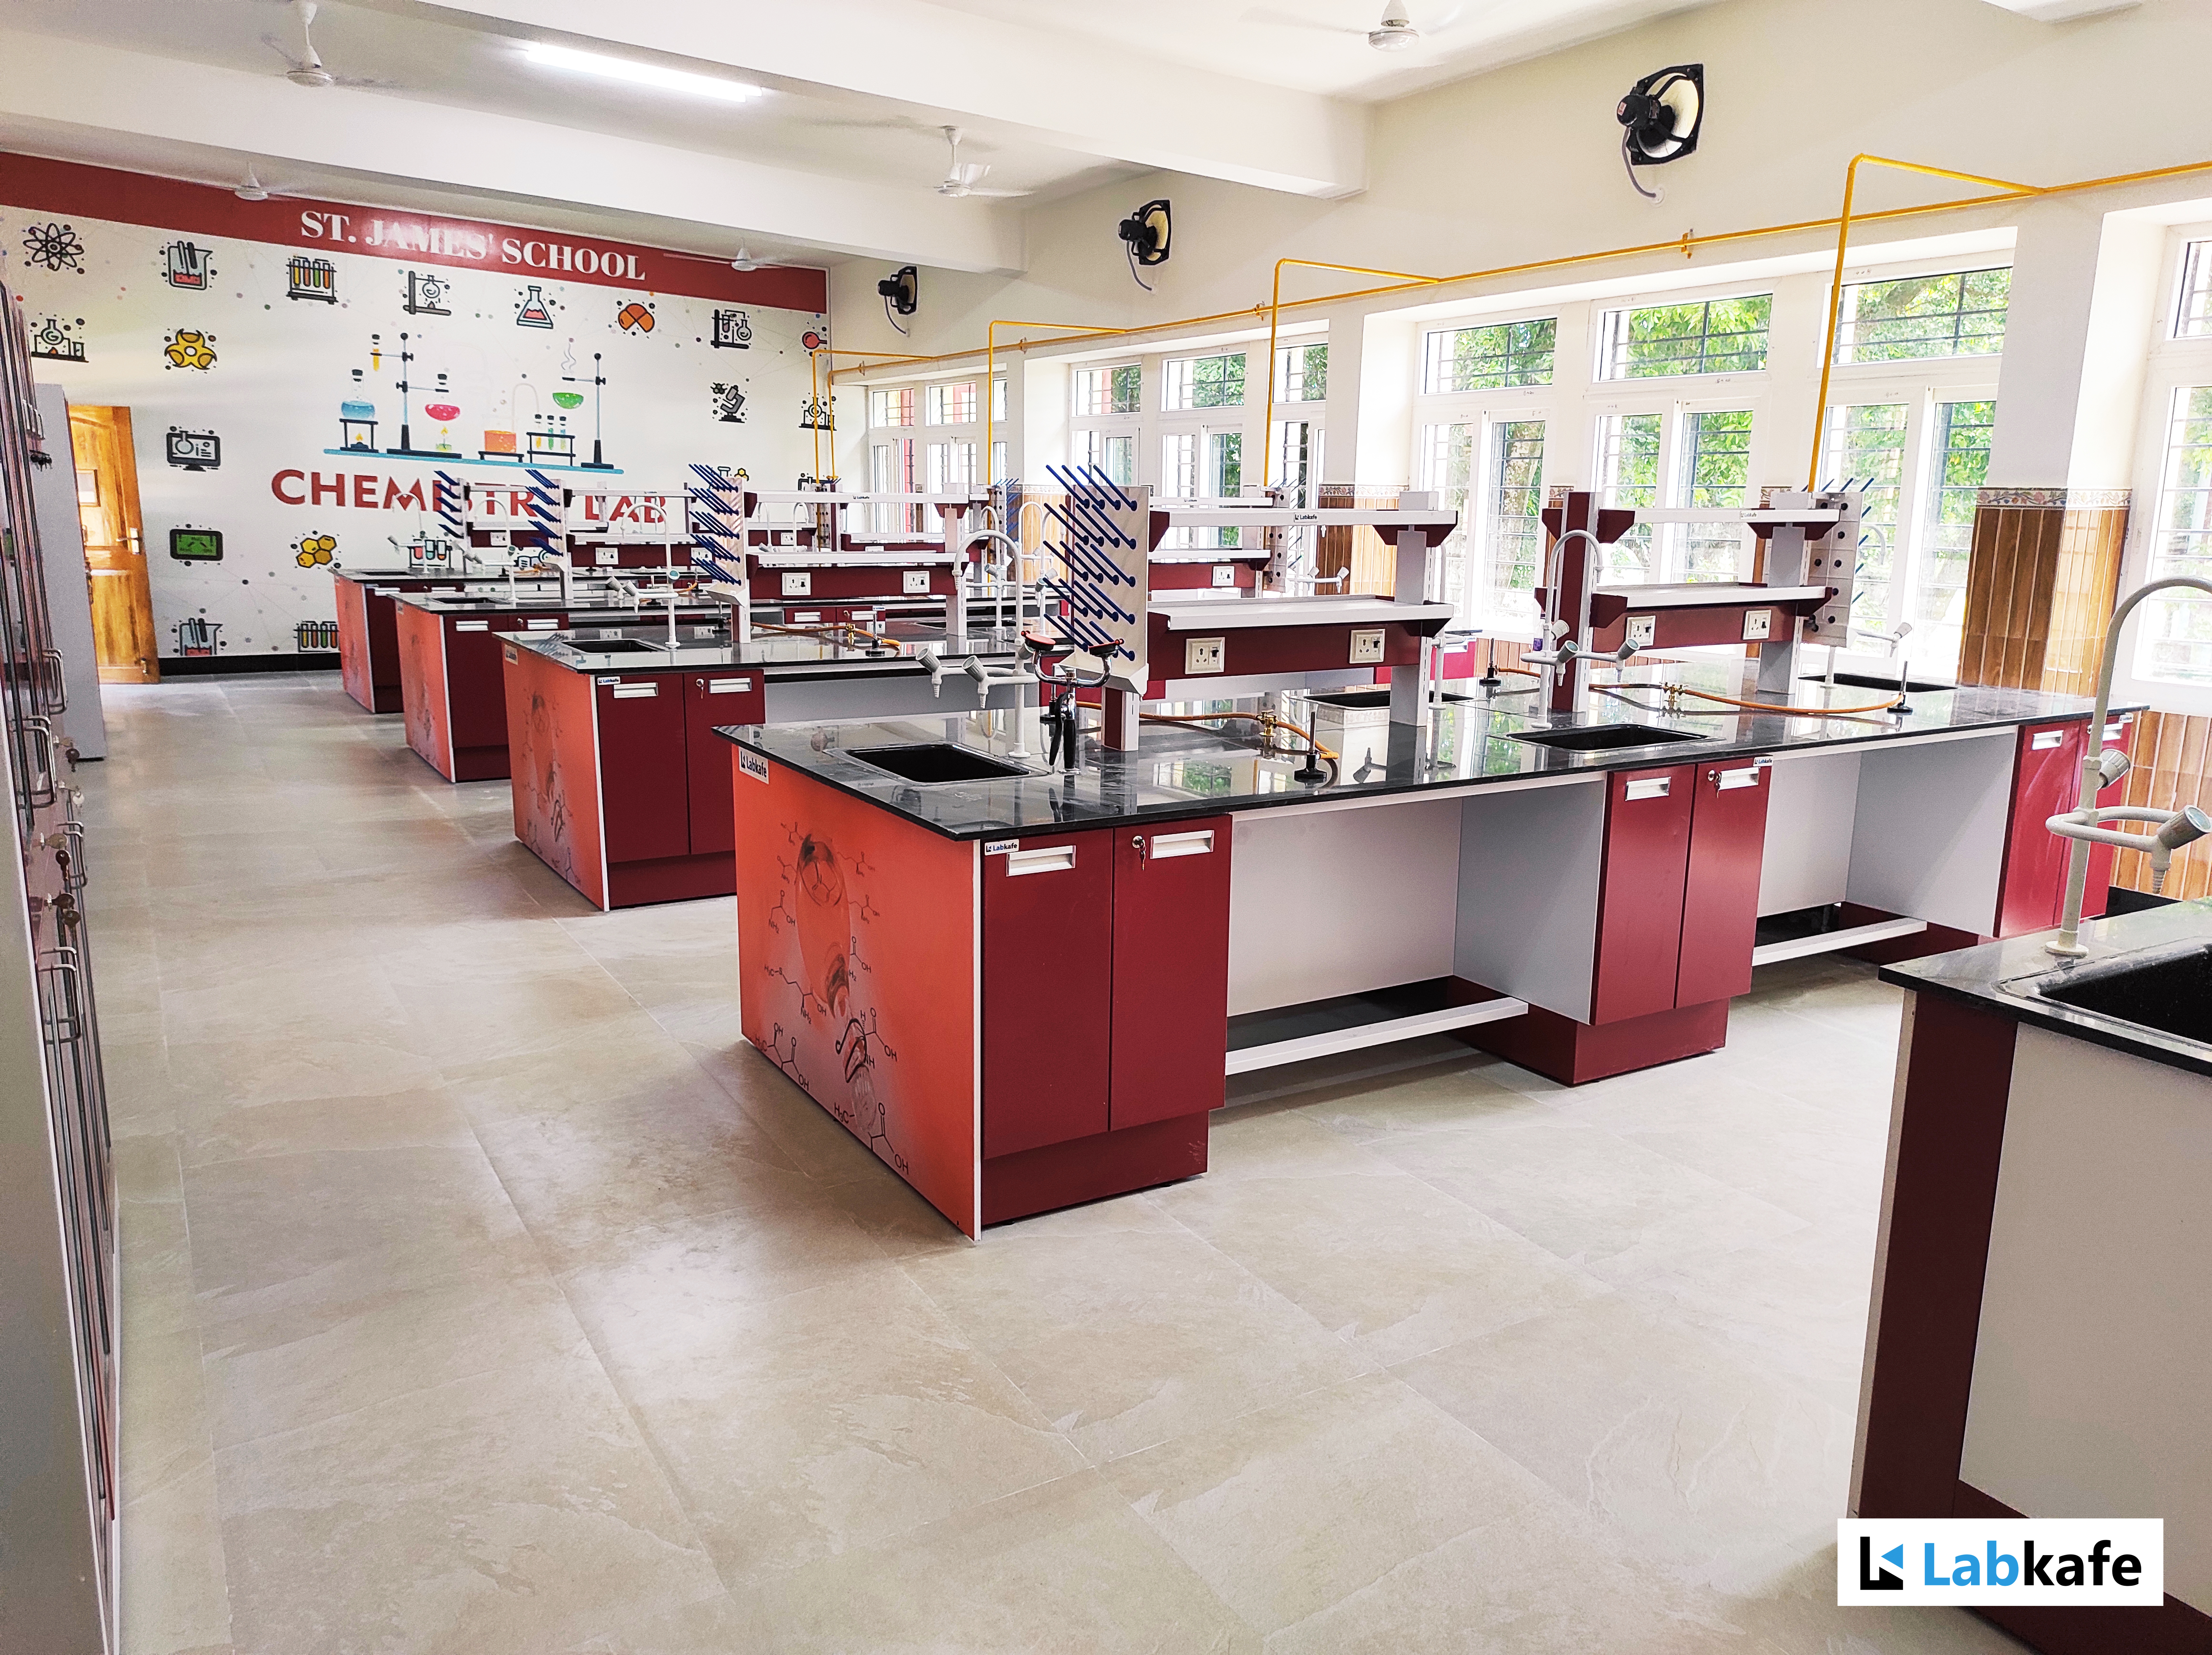
Now that we have gone through the setting up of the lab room and lab utilities, it is time to discuss the most important point ‒ the lab furniture which will permit people to work on them. There are four main areas a CBSE higher secondary school lab should have:
- Student workbenches
- Teacher workbench or demo workbench
- Lab assistant’s Table
- Other utility space (office cubicle/sitting area/bag or belongings storage)
Note: unless you have a huge amount of equipment, you can economically plan your storage areas within the above as well. That’s why we didn’t include the fifth point for storage areas. Most of our workbenches provide under-table storage options anyway.
We already have published a lab furniture buying guide , you can find almost everything you need to know about laboratory furniture in that article. Please visit it now for your better understanding. When done, let’s move on to some examples!
CBSE HS Lab Design Examples
Let’s see a physics lab design first:
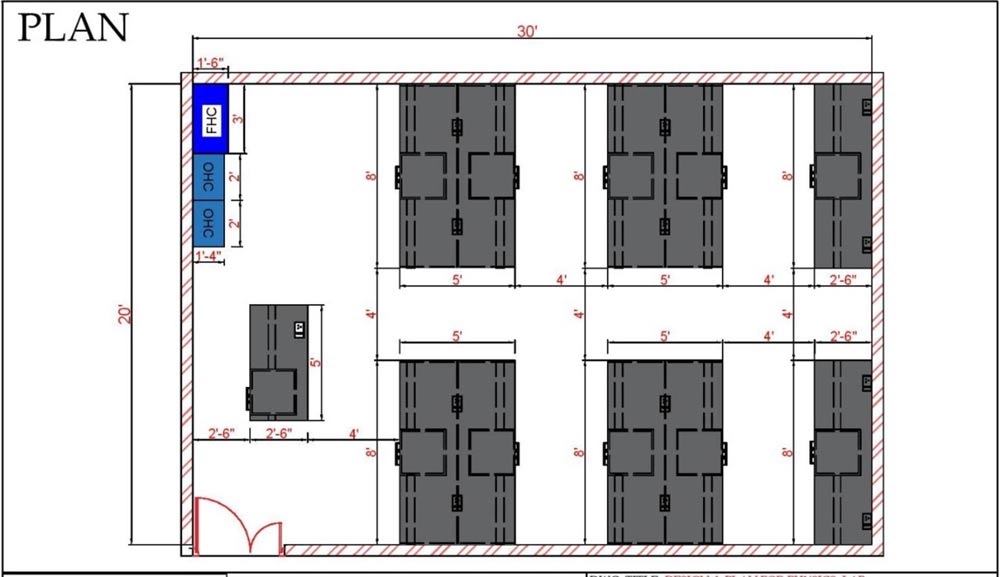
The above image is a lab furniture setup plan in 2D for the most basic CBSE physics lab. Here,
- The grey blocks are each a lab workbench.
- Each large workbench is the island-type, 8’x5’ in size, fitting 4 students on each side. There are 4 of them.
- There are two wall-facing workbenches sized half as above.
- There is one small teacher’s workbench in front of the class.
- The square areas in the workbenches denote a storage cabinet underneath the tabletop. It can be 2S or 1D2S, as you think best.
- The small dark squares in the workbenches are electrical points.
- FHC: Full Height Cabinet. OHC: Overhead Cabinet.
- There is ample space for working around the benches and foot traffic.
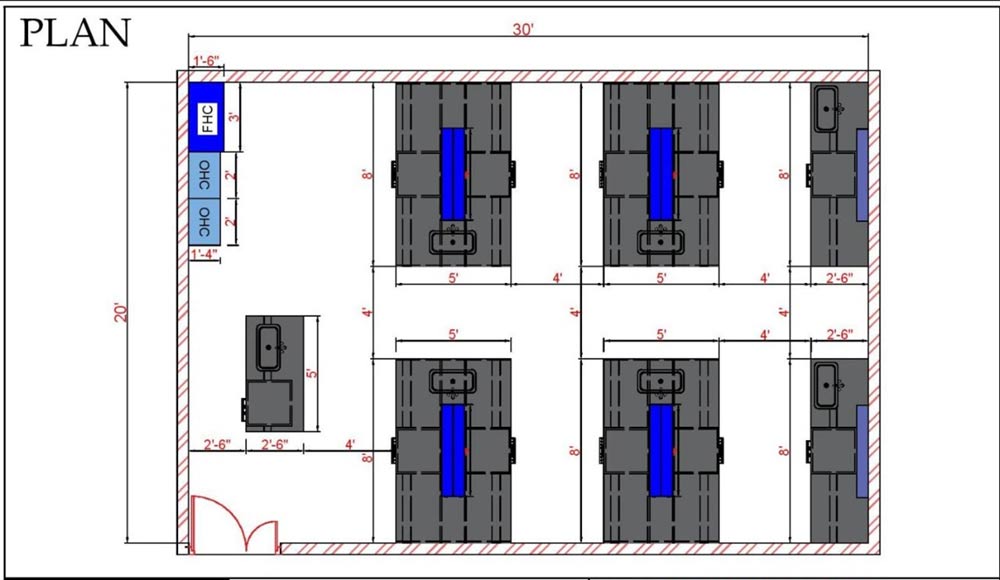
The above plan is for a CBSE chemistry or biology lab setup. It is quite similar to the physics lab setup above ‒ except a few differences.
- Notice that the workbenches have a blue rectangle ‒ that is the table-top reagent rack.
- Every workbench now has a sink and accompanying fittings. Note that this reduces workspace for wall-facing lab tables.
- It is not shown here, but assume that a chemistry laboratory will need more storage space than other labs.
Please note that the above designs are for reference only. In the real world, each lab setup will have to be made according to the room it fits. For example, the above designs do not consider window spaces on the walls ‒ in a real school lab that would be a big matter to consider. Again, you may choose to line up the wall completely with wall-facing workbenches and put a few island tables in the center, if your room is big enough for that.
Lab Equipment
Once your laboratory furniture and infrastructure are all taken care of, you have to go one more step. Guess what it is ‒ the lab equipment, of course! You have to meet the CBSE affiliation criteria for lab equipment all the way. It can be a tedious job to list out all the lab equipment, apparatus, and glassware you’d need in each lab. We know…
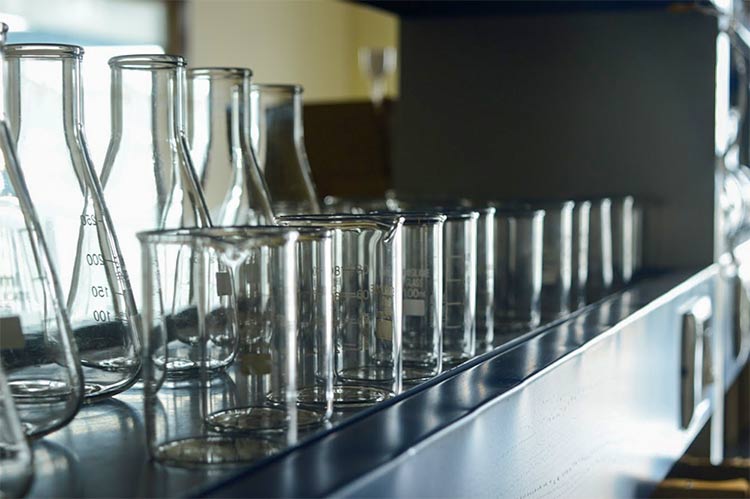
But you’re in luck! Labkafe offers pre-customized lab equipment packages for CBSE, ICSE, and other boards that are updated to the latest syllabus. Labkafe is India’s most prominent school lab setup provider. We manufacture lab furniture and lab equipment and provide free installation for them as well. If you wish to know about each lab package, you can further read the following articles.
Wish to talk to our customer relations team? Contact +91-9147163562 today!






Leave a Reply