By now, you probably know all about how to set up a microscope , or how a microscope works . But what you should worry about is that it is a very precise and delicate piece of lab equipment and therefore can get damaged or soiled easily. So, today we will talk about proper microscope maintenance checklist step-by-step.
A microscope, even the standard compound microscope that is used in schools, is a very expensive piece of equipment! And there is very little one can do if any part of a microscope is damaged ‒ it’s a pretty much one-way journey. So, you have to take care of a microscope in three different levels:
- Care when using the microscope
- Microscope aftercare when you store it back
- Regular maintenance and cleaning
Care When Using a Microscope
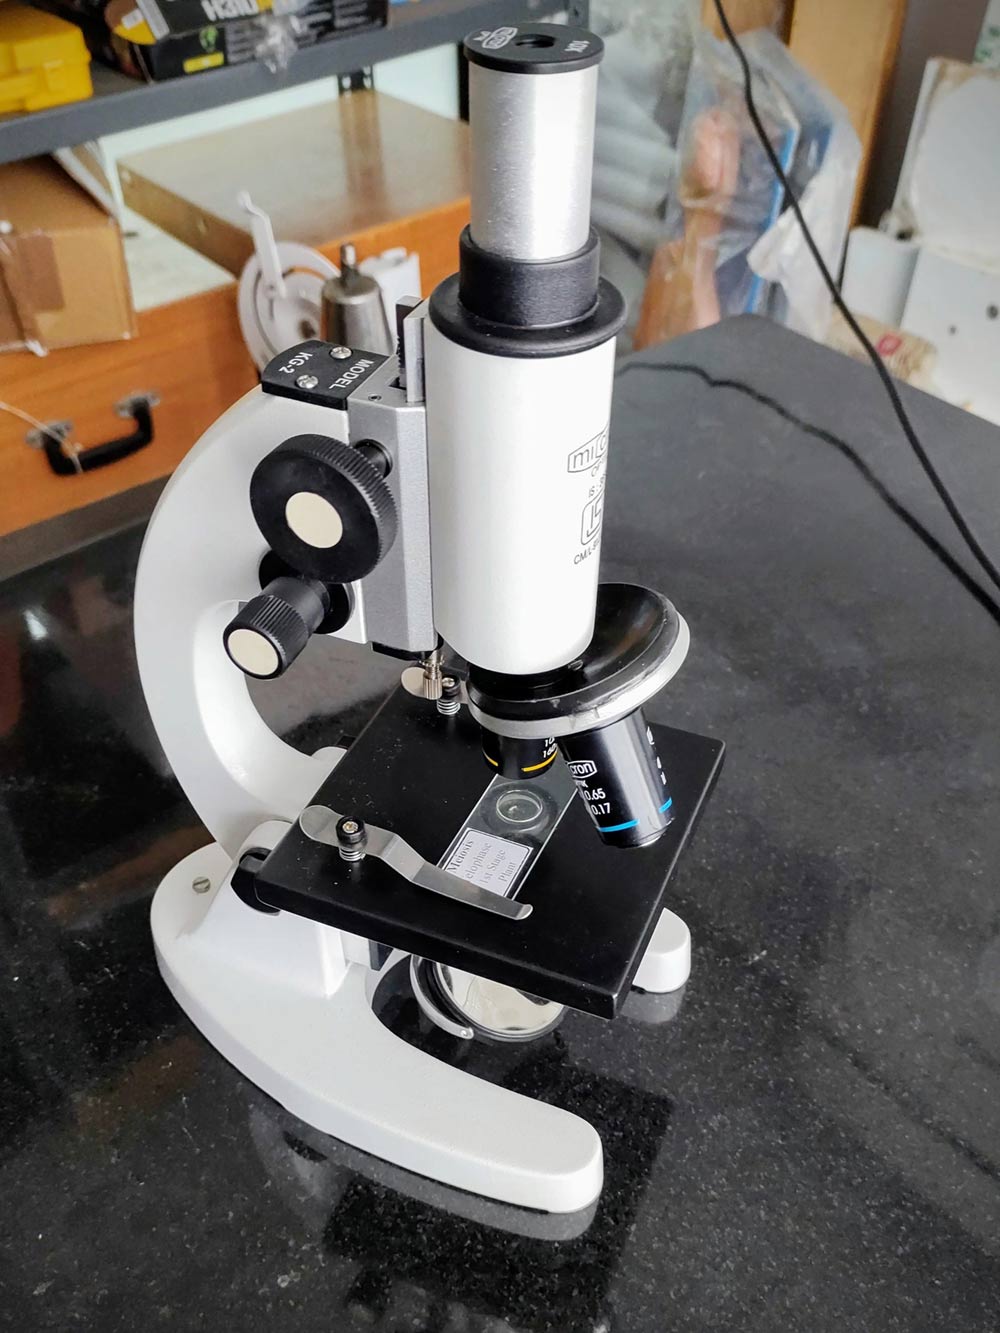
- When lifting and carrying the microscope ‒ any type of microscope ‒ always place a hand under the base of the ’scope to support its weight. NEVER carry it by its arm alone! Since all the sensitive parts of a microscope are mounted on the arm’s top end, you should take pains not to apply any force on it as much as possible.
- Be careful where you are setting up a microscope . The surface on which you place a microscope should be sturdy and level. It should be as close to horizontal as possible and it should not wobble or move around.
- In the same context, do not place any equipment that moves or vibrates on the same surface/table/lab workbench. If
- you must, at least make sure they are turned off while the microscope will remain there.
- In most cases, the surface available to you for using a microscope will be a lab workbench. They are fine for the purpose ‒ but make sure you place the ’scope away from the sink and the reagent rack. This helps you ensure that the microscope parts won’t get splashed accidentally.
- Try not to do any other work nearby while the microscope is set up for use, especially wet or vigorous work. If you need slides prepared, do that before even taking the microscope out of its storage.
- Right before you start using it, clean the lenses and viewing mechanism of the microscope using a clean, soft cloth. Do the lenses with the special lens cleaner paper or solution, as per the user’s manual that came with your device.
- If you are using an electrical microscope, make sure that you plug it in the proper port or power supply (as indicated in the manual), and do keep the switch off when not using it.
- While using the coarse adjustment knob, do make sure that you don’t accidentally touch the slide with the objective lens. This happens very commonly in the case of using those longer-sized high-power objectives. When you are near the slide, look from the side at the stage’s level to gauge how much gap there is between the lens and the slide.
- If the lens does accidentally touch the slide, clean it at once! Often a just-prepped slide is wet with one chemical or other ‒ if it touches the lens, do not let the chemical (or even plain water) dry on the lens. Wash with lens cleaner solution and wipe/pat dry with a clean cloth as soon as you can.
After Usage Microscope Care
- Use a blower or rubber bulb to blow air on the viewing apparatus to remove loose dust.
- Make sure the microscope is absolutely dry in all its parts; otherwise it will accumulate fungus.
- Clean the lenses with a special lens cleaner solution according to your user’s manual.
- If your manufacturer did not supply or prescribe a lens cleaning fluid, you can make your own. (Note: Do not use pure ethanol or xylene! They can dissolve the cement at the base of the lenses, which will come loose as a result.)
- To make your own lens cleaning fluid, mix 40% petroleum ether, 40% ethanol, and 20% ether and store it in an airtight container. This lens cleaning solution is the safest you can make in a school or college lab.
- Do not put any cleaning fluid directly on the lenses; instead, soak the cleaning paper in the liquid and use that to wipe the lenses.
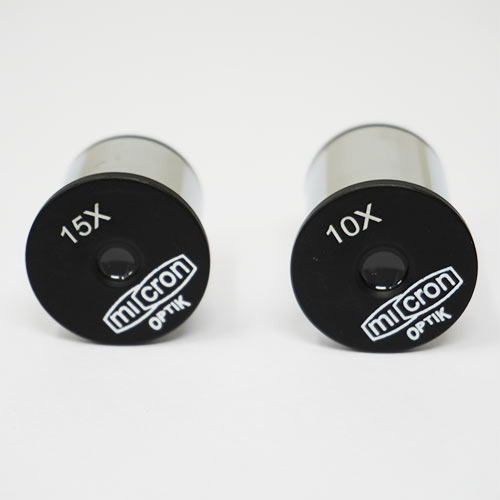
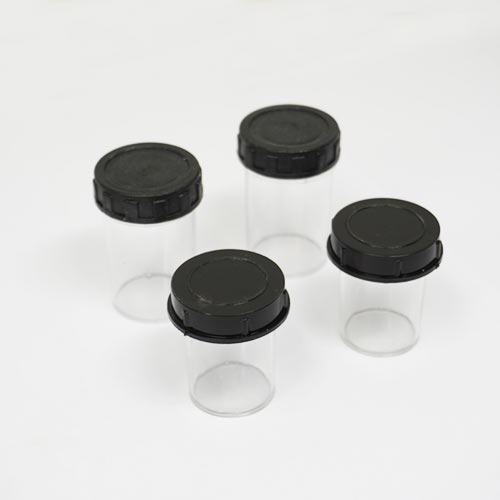
- Remove all the lenses carefully and store them in their own box. Put the protective caps in place of the lenses.
- Carefully cover the microscope with a plastic cover and place a desiccator pack inside (so the air inside the plastic remains completely dry.
Regular Microscope Maintenance Checklist
- Every month, detach every part of the microscope that can be detached from the body, and clean them thoroughly with cleaning fluid.
- Remove the slide holder clips too and clean their undersides especially. Since they are always in contact with the slides, they will accumulate dirt and chemicals.
- Clean the body and heavy parts of the ’scope with distilled water and mild soap. Use tissue paper to wipe.
- Every six months, apply lubricating fluid to the moving parts (as indicated by your instruction manual). It would be better if a professional service person did it.
- Every six months, test all microscope parts rigorously for any faults.
Labkafe offers some really great quality microscopes in their school lab packages and standalone too. We offer great aftersale care and therefore for any issue with your microscope you should call us. We can guide you online or send a representative as the situation dictates.




Leave a Reply